Have you fantasized about becoming a voice actor but haven’t started because you don’t have thousands of dollars to spend on recording equipment? Good news! It’s actually not nearly as expensive as you think. At the end of this post, I’ll include a link to get my recommended gear to create your first voiceover setup for $150 or less.
So. There are a few things you need to record your voice. Today, we’ll focus on the physical components of a basic signal chain, but keep in mind you’ll also need a computer and editing software. I talk about those in the Voice Acting Academy, if you’d like to more. In regard to the physical components, here’s the equation:
Something to capture your voice > cable > something to convert that information into a digital format that your computer understands > another cable > your computer
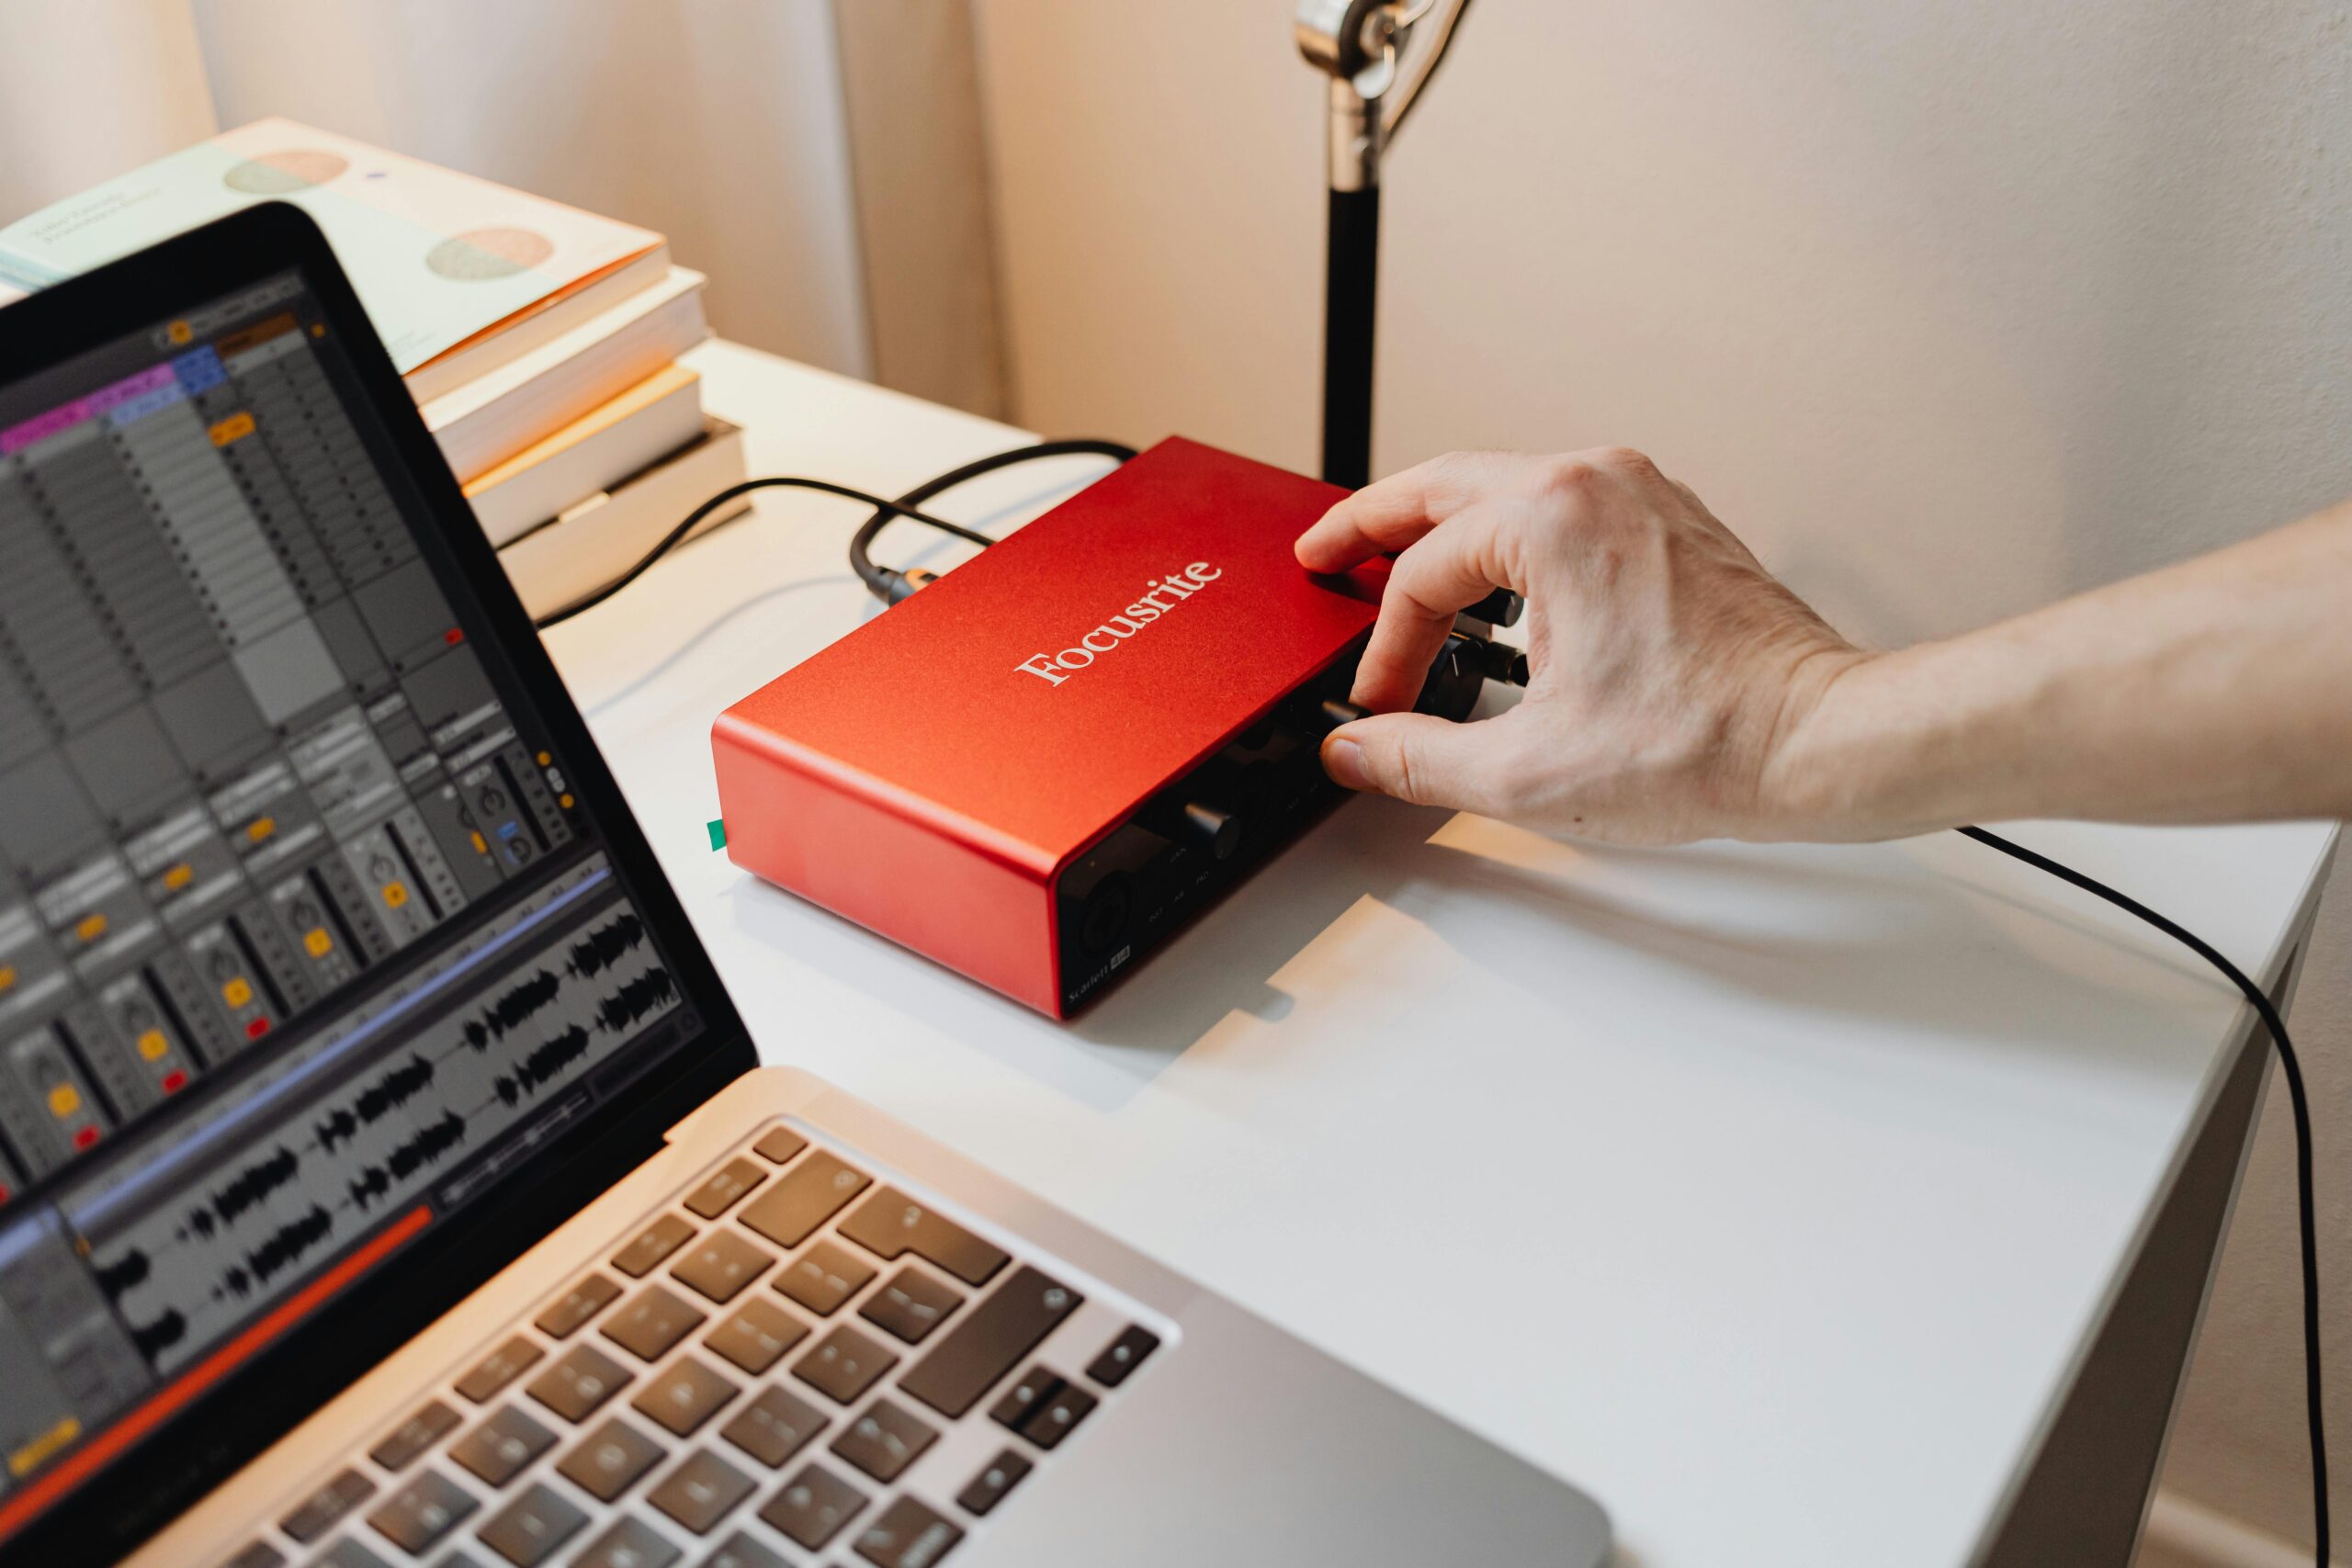
Typically, that looks like: Microphone > XLR cable > Audio interface > USB cable > Computer
Outside of the USB cable (which typically comes with your audio interface), you only need 3 components. A mic, an XLR cable, and an audio interface.
Ah, but what about USB mics, you ask? Well, they’re not ideal for voice acting long term. If you have a USB mic right now and you’re on a tight budget, it can work. However, when buying your first mic, price out XLR mics and audio interfaces to see if that USB mic you’re eyeing is worth the investment. Typically, USB mics that are similarly priced to XLR mics are lower in quality for a few reasons. Sure, a USB mic doesn’t need an audio interface and plugs into your computer directly, but that’s because USB mics have the analog to digital converter that an audio interface normally handles built into the mic, and therefore the components into the mic are lower quality than those in an XLR mic at the same price. With a lower quality capsule, the microphone captures less detail in your performance, and with a lower quality analogue to digital converter, data is lost before it ever makes it to your computer.

Again, if you’re on a budget and already have a USB mic on-hand, use it. It may not be ideal, but you can book entry level work on a USB mic and save up for your first proper signal chain. If you’re looking to buy now, look for an XLR mic and audio interface.
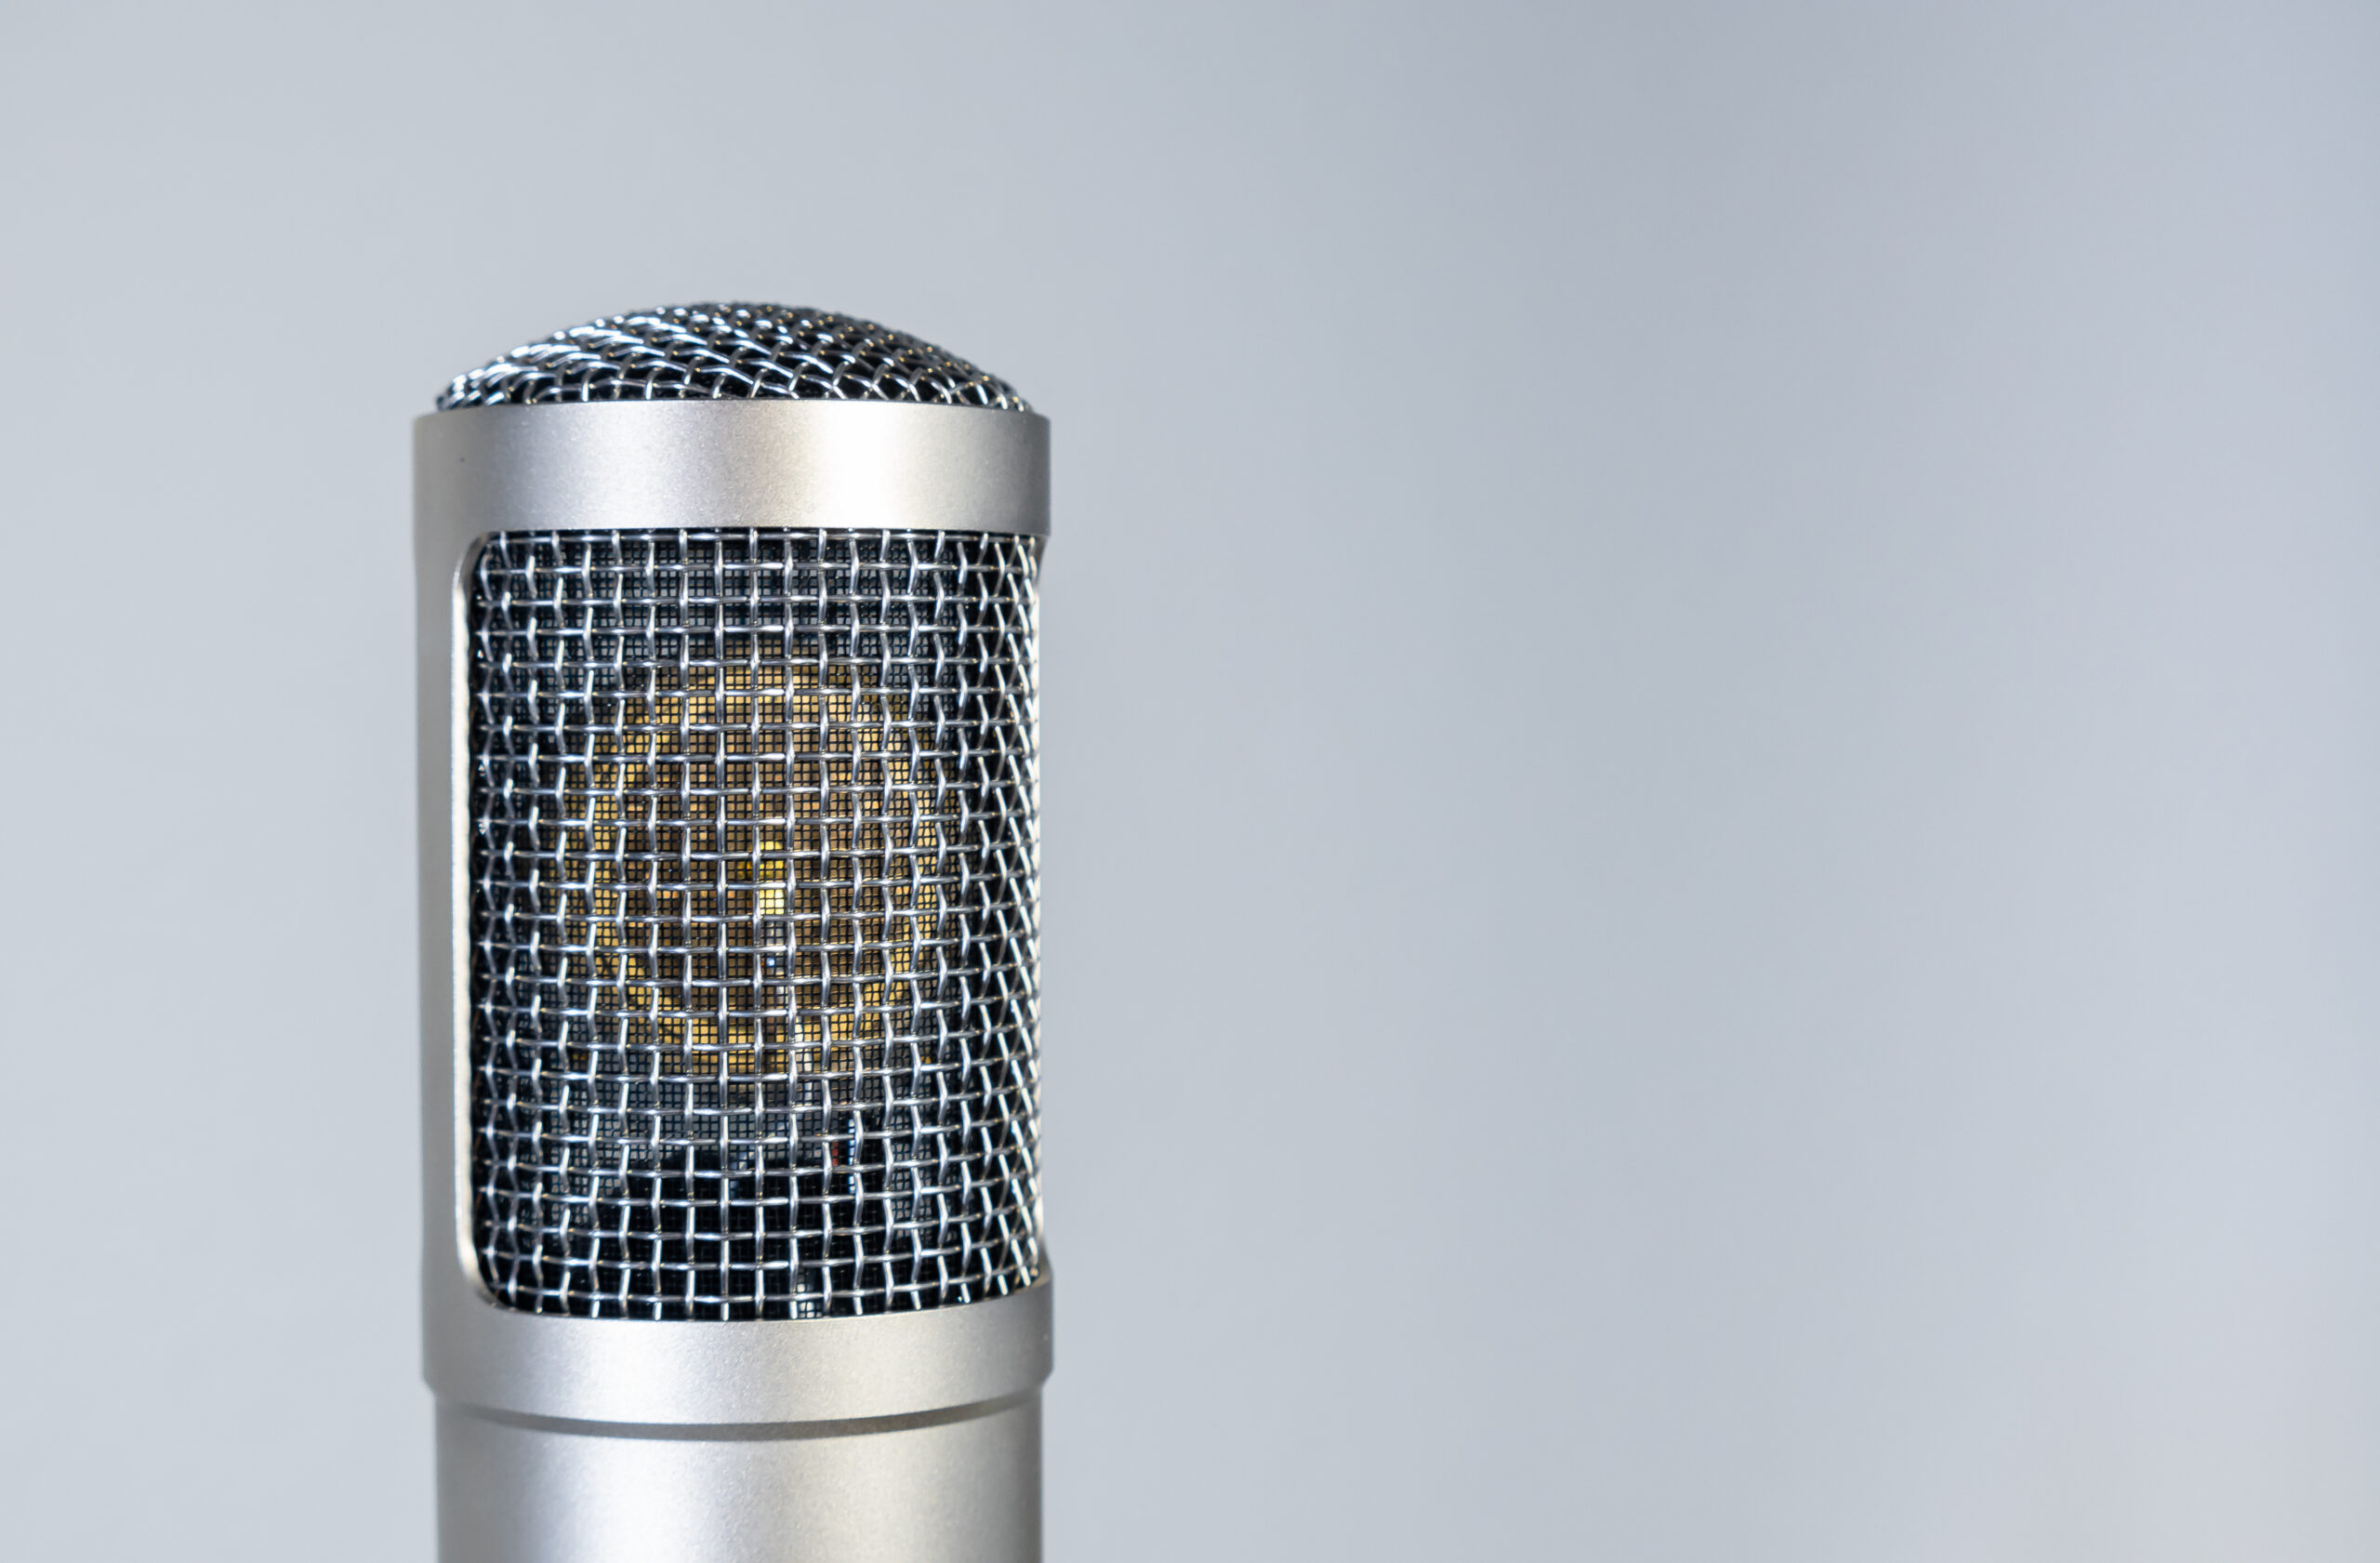
Now, what is an XLR mic, and what’s an audio interface? In simplified terms, an XLR mic is a traditional microphone which has one core function; it captures your voice by using a capsule to pick up vibrations, then that electrical signal from the vibrations is converted through the microphone’s circuit and passed through the XLR cable to the audio interface. The audio interface takes that analog signal from the mic, raises the signal’s levels to an appropriately audible level (which you control through the “gain” knob), converts it to a digital signal your computer understands, then sends that data to the computer.
Admittedly that’s a very simplified explanation. Audio engineers out there are probably spinning about the nuances I left out. Sorry, audio engineers.
With that explanation out of the way, what should you look for when buying your equipment?
Let’s start with the mic. You’d be surprised to find that you don’t need to spend thousands on a mic. My first microphone was a $67 condenser I won as a prize. I booked more than enough work with it to pay for upgrades to my space. Do your research. Find reputable brands that offer mics for more than $20 (typically mics under $20 use overly bright capsules that produce a thin overall sound). Depending on what you’re looking for, you can score an adequate XLR mic for between $40 and $80. Brands like MXL fit right into this range, and you can even score great mics that are getting discounted as they age (like the CAD E100Sx, which is $60 at the time of this writing).

Next, the audio interface. There are some great interfaces that are considerably older at this point, but when it comes to budget interfaces, I recommend sticking to something within the last few years. That’s because consumer grade audio interfaces have improved quite a bit in recent years with the rise of streaming platforms like Twitch and YouTube. The internal components in newer interfaces typically have less signal noise than consumer-grade interfaces from 10 years ago. The benefit there is if you need to boost your volume when editing, you’re not going to get nearly as much of a hiss in your audio. My measurement is how much clean gain the interface can push. A lot of streamers like using the Shure SM7B, which is a gain-hungry mic, and interfaces have improved to try to push the SM7B without needing an in-line preamp. So if an interface has at least 52db of gain, chances are it can push your mic without too much signal noise. Once again, avoid interfaces below $50. They’ll likely use noisy components that introduce too much noise into your audio, which will turn away clients when they play your audition.
And don’t forget the cables! Remember, you need an XLR cable to connect your XLR mic to your audio interface, and a cable to connect your audio interface to your computer. The audio interface typically comes with a USB cable, but usually the XLR mic and audio interface will NOT have an XLR cable included. Check the product descriptions to be sure. For XLR cables, you don’t need to break the bank starting out. Brands like PigHog provide really good cables for a good price.
One thing I didn’t mention is somewhere to mount your microphone. Typically that’s either a boom arm or a mic stand, but what you choose will vary depending on your space. More expensive boom arms may be steeply discounted when they’re used on sites like eBay or Reverb. Depending on the weight of the mic you pick, you may be able to use a more budget-friendly boom arm. Again, check the product description. As for freestanding mic stands, You typically won’t need to spend more than $35. Mic stands all have one of two thread patterns, and 99% of the time your microphone will have a thread adapter to ensure that it fits onto whatever stand you choose.
Sooooo… ready to buy your first voice acting recording setup? If so, I’ve got you covered. Check out this link to pick up my free guide on buying your voiceover recording setup for $150 or less.
Now do your research, order your equipment, and don’t forget that XLR cable! I can’t wait for you to start recording.


