Today, we’re diving into the world of microphone positioning. If you’ve ever been in the middle of a perfect take only to have it ruined by a plosive so powerful that even iZotope couldn’t handle it, or if you’ve paused to check for pudding in your headphones, then listen up! Your mic’s placement might be the culprit.
Let’s start with a simple experiment. Google Image Search “Voiceover Recording Studio”—or Bing it, if you haven’t had a chance to change your default browser (new booth computer, it happens). Notice anything? Most mics are positioned above or below the voice actor’s mouth, not directly in front. And those that are at mouth level? Look closer. They’re angled so that the capsule isn’t pointing straight at the mouth.
Why, you ask? Well, let’s talk about why newer voice actors tend to position themselves closely to the microphone.
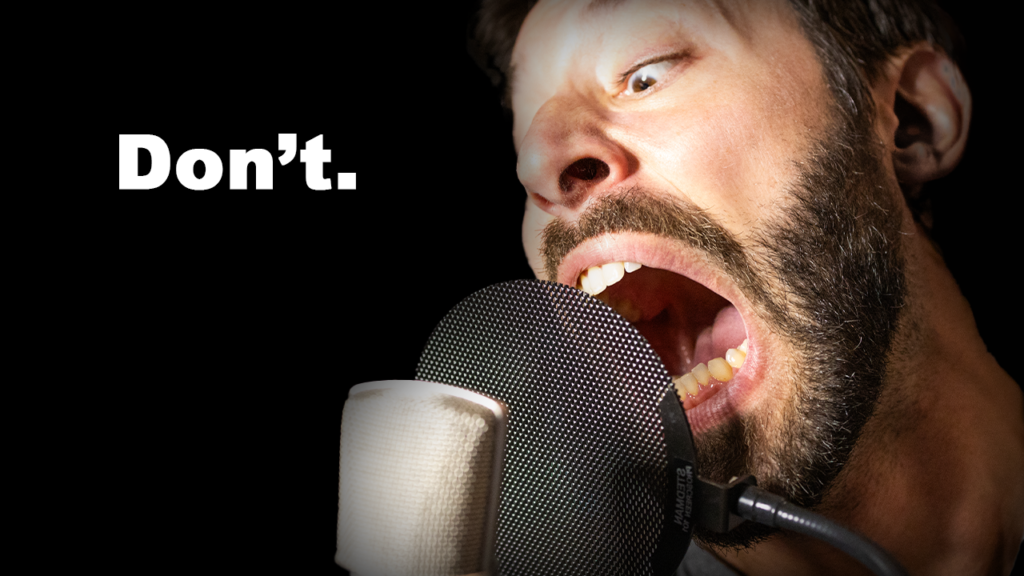
First, the proximity effect—or as I like to call it, “Eating the mic.” This phenomenon occurs when you cozy up too close to your mic, causing bass frequencies to linger and beef up your recording. It can sound cool, like that deep, intense movie trailer voice, but it’s also unnatural and a surefire way to capture every lip smack and plosive that comes out of you.
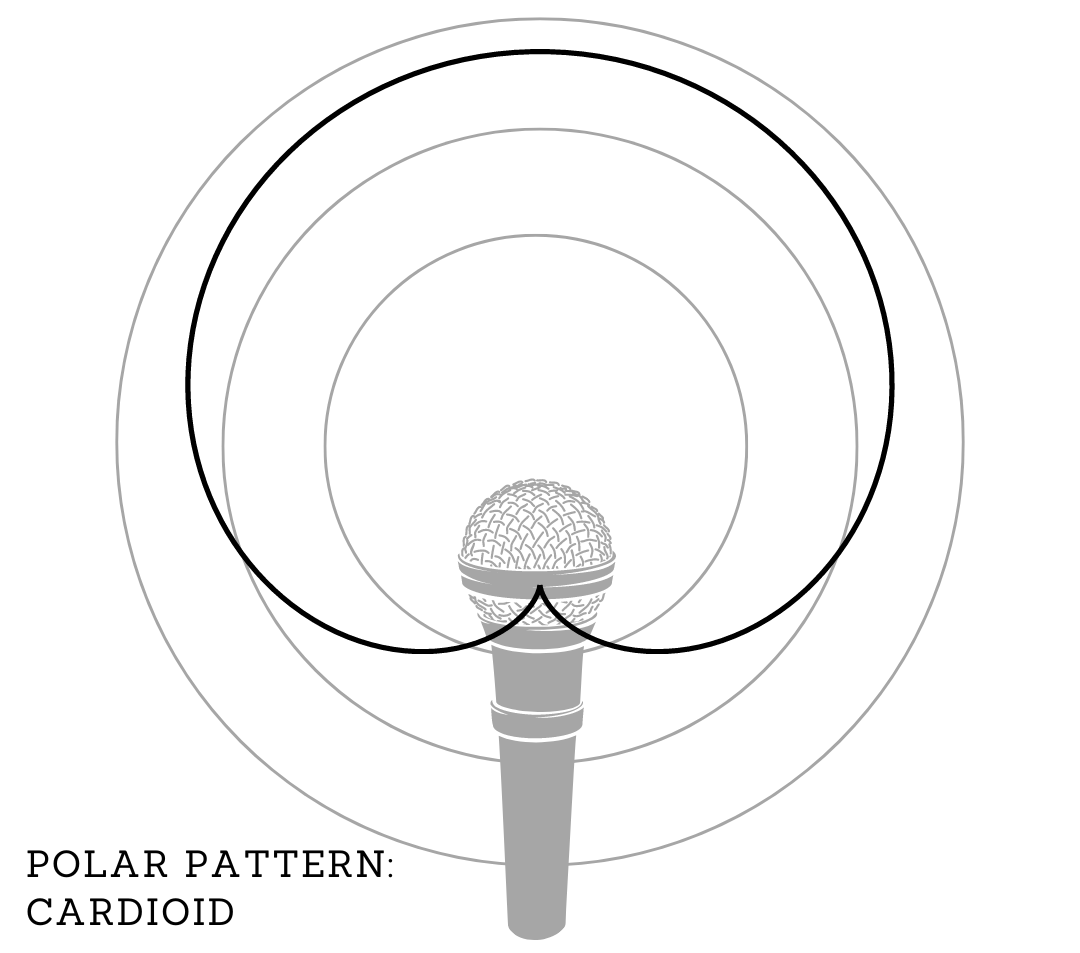
Now, you might think the mic should be aimed right at your money-maker (your mouth), but doing so puts it in the line of fire for every bit of air you expel. Now it’s time to talk about the Polar Pattern. Most mics have a Cardioid pattern—heart-shaped. This design means the mic doesn’t need to be head-on to capture the nuances of your voice. Angle it away from your mouth, and you’ll avoid picking up what you had for lunch or blasting the capsule with a hearty “Pastrami!”
Next up, the science of sound. Did you know that doubling your distance from the mic results in a 6-decibel change in volume? For example, if you have your gain set so you can record at proper volumes while you’re two inches away from the mic, moving back 2 inches will cause your volume to drop by 6 decibels. If you’re 12 inches away from the mic and have your gain set properly for that distance, you have to move back 12 more inches before your volume drops by 6 decibels. Thanks to the inverse square law, standing further back gives you more room to move without drastic volume shifts, which is great for character acting. Bonus- the further away you are, the less energy your plosives have by the time they get near the mic.
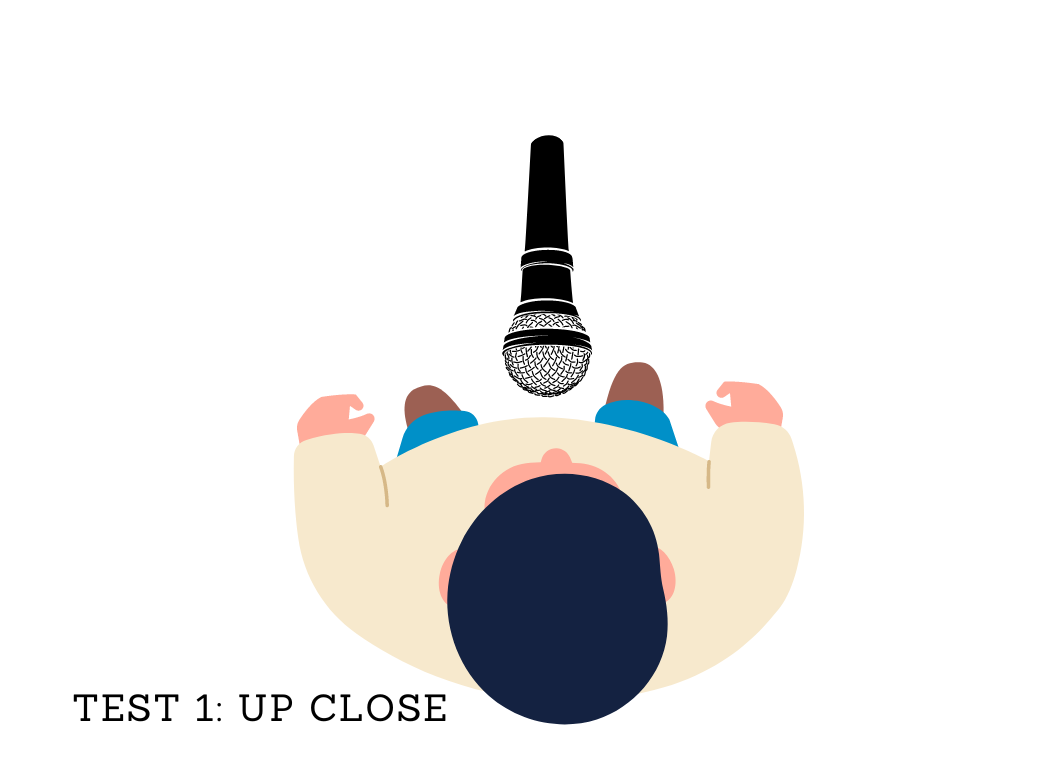
But perhaps you’re still chasing that golden sound of a close-mic’d recording. So how about another experiment?
Get behind the mic and position your mic directly in front of you, one fist (3 or 4 inches) away from you. Record a take, and pull your head back 4 inches as you record. How were your plosives? Mouth sounds? Can you see the volume change where you started to back away?
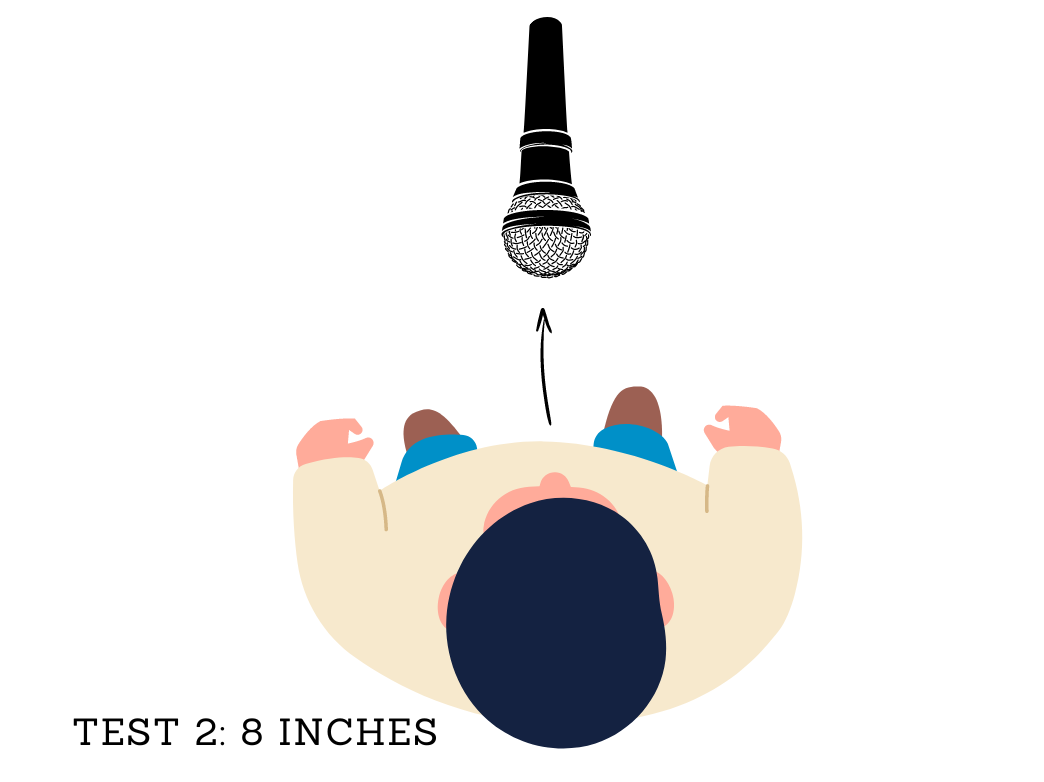
Now, let’s do the same thing, but this time stand 12 inches away from your mic. You can also choose to do 6 to 8 inches, or a “Hang Loose” away. Keep the mic in front of you for this one. Record a take, backing away from the mic by 4 inches while recording. How were your plosives, mouth sounds, and volume this time? How did the overall sound of the recording differ from the up-close recording once both are normalized to the same volume?
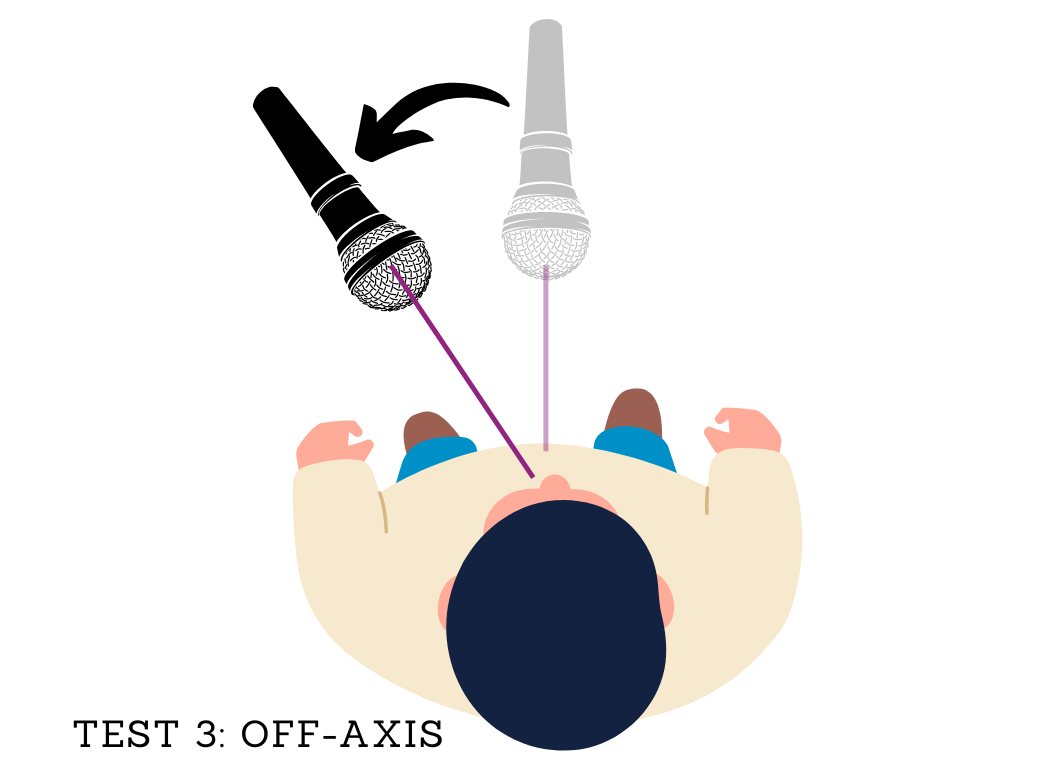
And finally, if you’re feeling adventurous, position your mic to the left or right of your mouth, still that “Hang loose” away, with the capsule pointed at your mouth. What changed in the recording? Did the audio quality drop, or did you reduce the amount of plosives and mouth sounds you had?
So, how should you position your mic? Understand your mic’s polar pattern first. Whether it’s a cardioid, dynamic, or hypercardioid, position it so your voice projects within its sensitivity range. Personally, I prefer to stay 8 to 12 inches away, positioning the mic to the side and slightly below mouth level, angling it down to capture my voice without the mouth noises.
Remember, proper mic positioning is key to reducing plosives and mouth clicks. Play around with the angle and distance to find your sweet spot, and you’ll be amazed at the difference it makes—even if the mic isn’t staring you down.
If you found this info helpful and would like to learn more about voiceover and finally get started in voice acting yourself, check out my free eBook on getting started in voice acting.
Now get behind the mic! But not too close; we literally just talked about that.